

Thanks for reading Fel and Blades Part 2! I hope you come back for Part 3!
Author: Shadez
-

Redbubble Shop: Now Live
Today I have a very exciting announcement—I’ve opened a Redbubble shop!
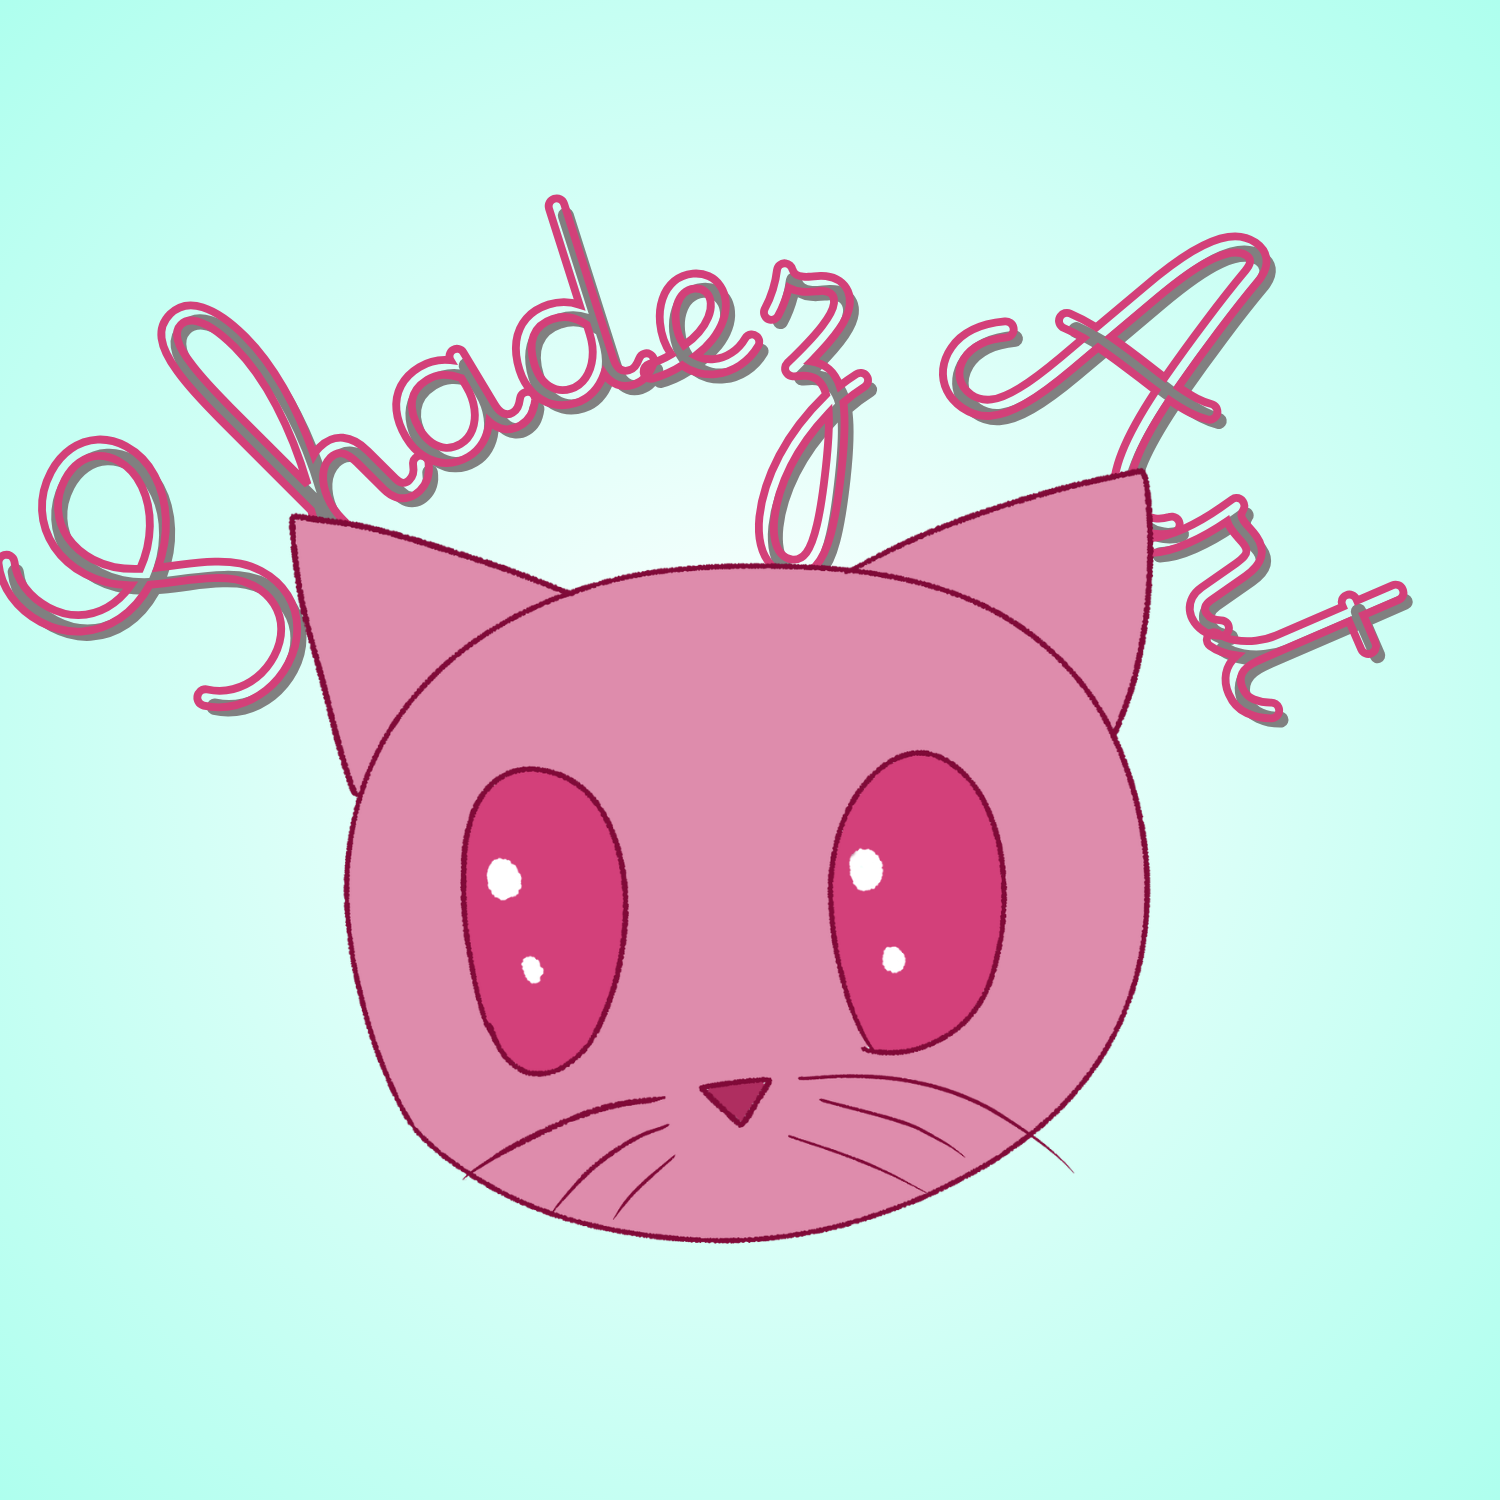
I think since late 2024, I’ve been drawing these cute little animal doodles with the intention of turning them into stickers to sell. I decided to go with Redbubble for my first shop, because it seemed like the easiest one for a beginner. I don’t need to print anything and I don’t need to come up with the product descriptions, because Redbubble does it all for you. I literally just need to post the art, add all the tags and stuff, and decide what kind of products I want to put it on—which, as of right now, is only stickers and magnets. Right now, I also only have cats and dogs, but I do plan on doing more animals in the future.
Here’s an example of the style I’m using.
The reason why it took so much time is because I went crazy and decided to do twenty-five designs for my first batch. Technically, you can start a shop with only five designs, but I read in one of their official blog posts that they recommend starting off with twenty-five so your shop will get more reach. And I’m glad I put in all that extra effort, because I checked my email this morning to see that my account is already a Premium account (which means I get to keep more of the money I make, and they’re more likely to promote my art), and I haven’t even sold anything yet. So, I guess that’s my tip for beginner Redbubble artists from another beginner Redbubble artist. Draw as many designs as you can. You might instantly get your account upgraded!
So, if you want to support me (or if you just like cute little animal stickers), I’d really appreciate it if you check out my shop. https://www.redbubble.com/people/ShadezArt/shop?anchor=profile&asc=u
Thanks for reading!
-
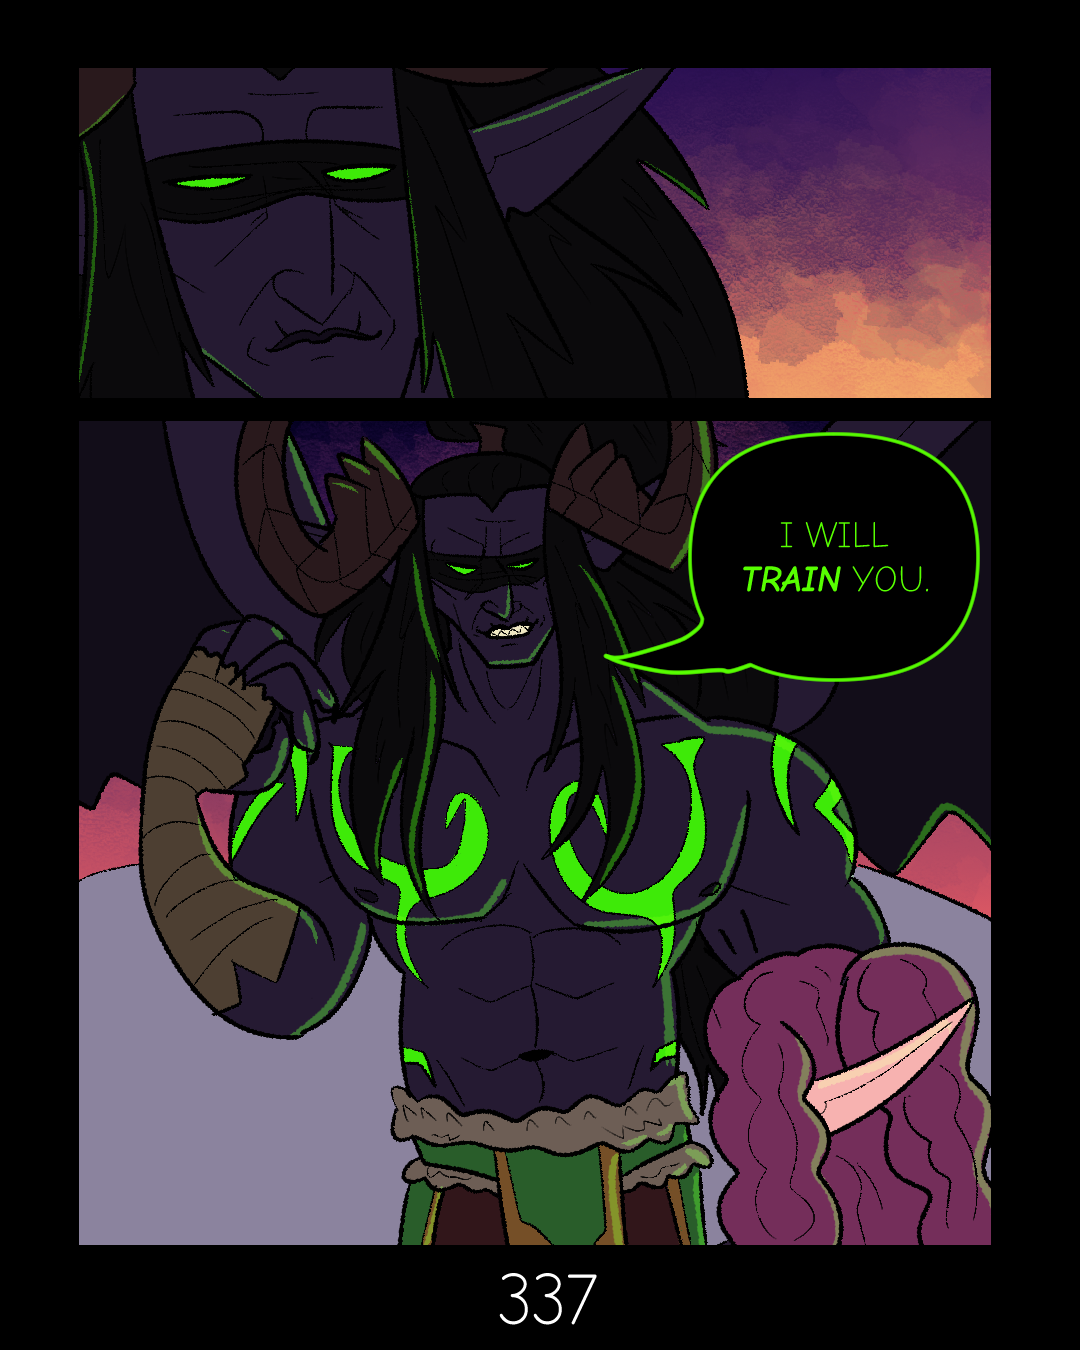
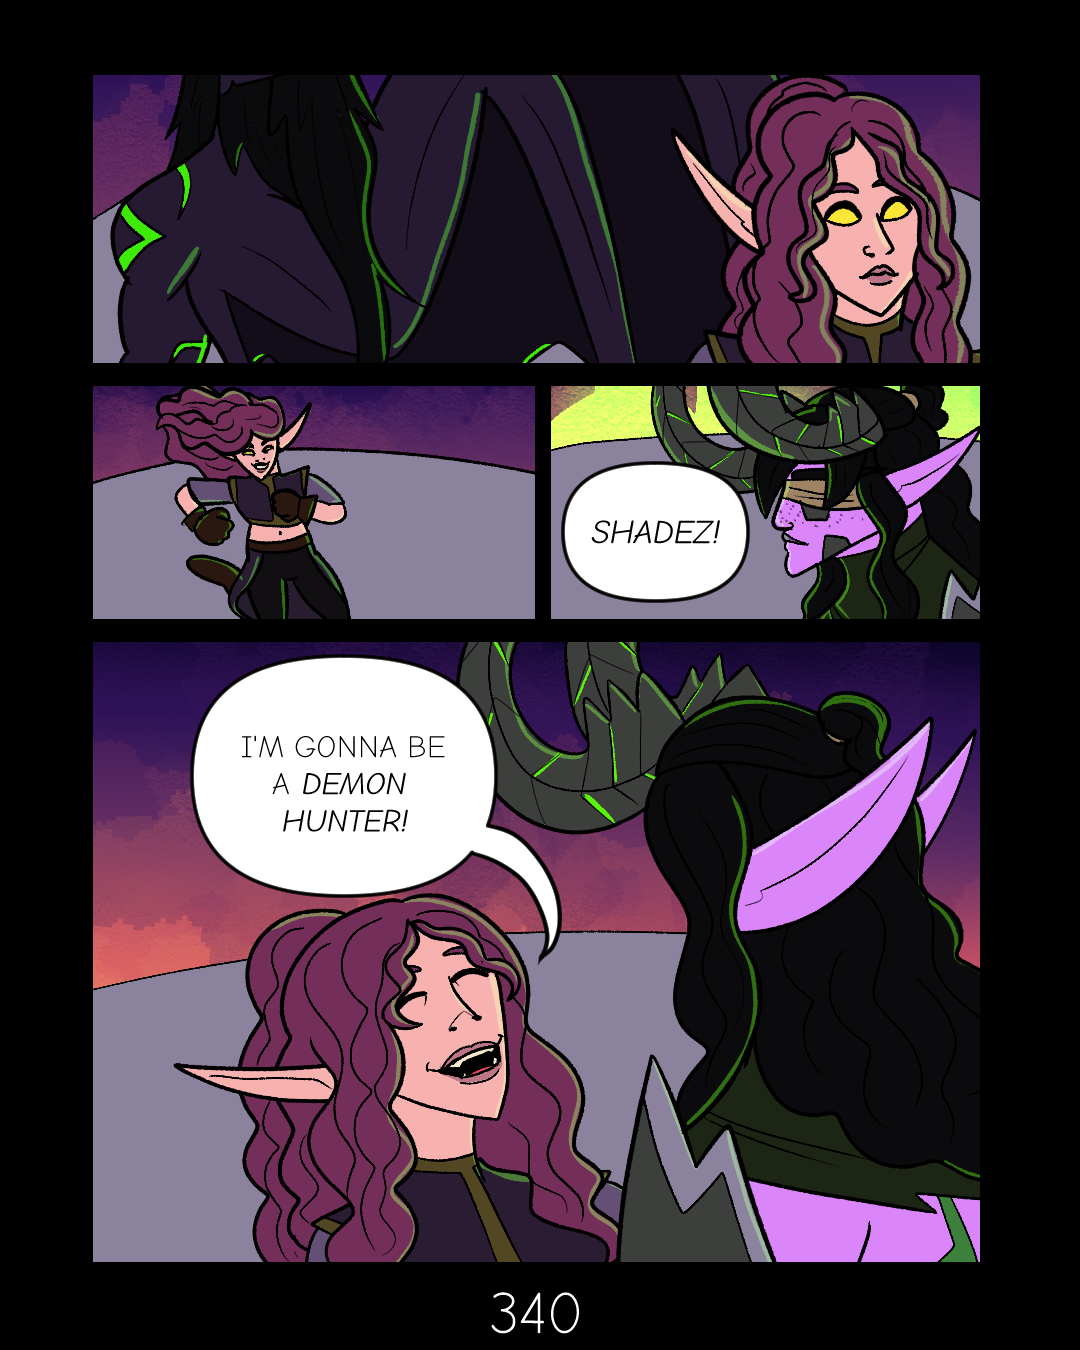
Fel and Blades: Pages 337 – 339
Thanks for reading! Come back next Friday to read more!
Can’t wait? Consider joining my Patreon to read two weeks ahead!
-
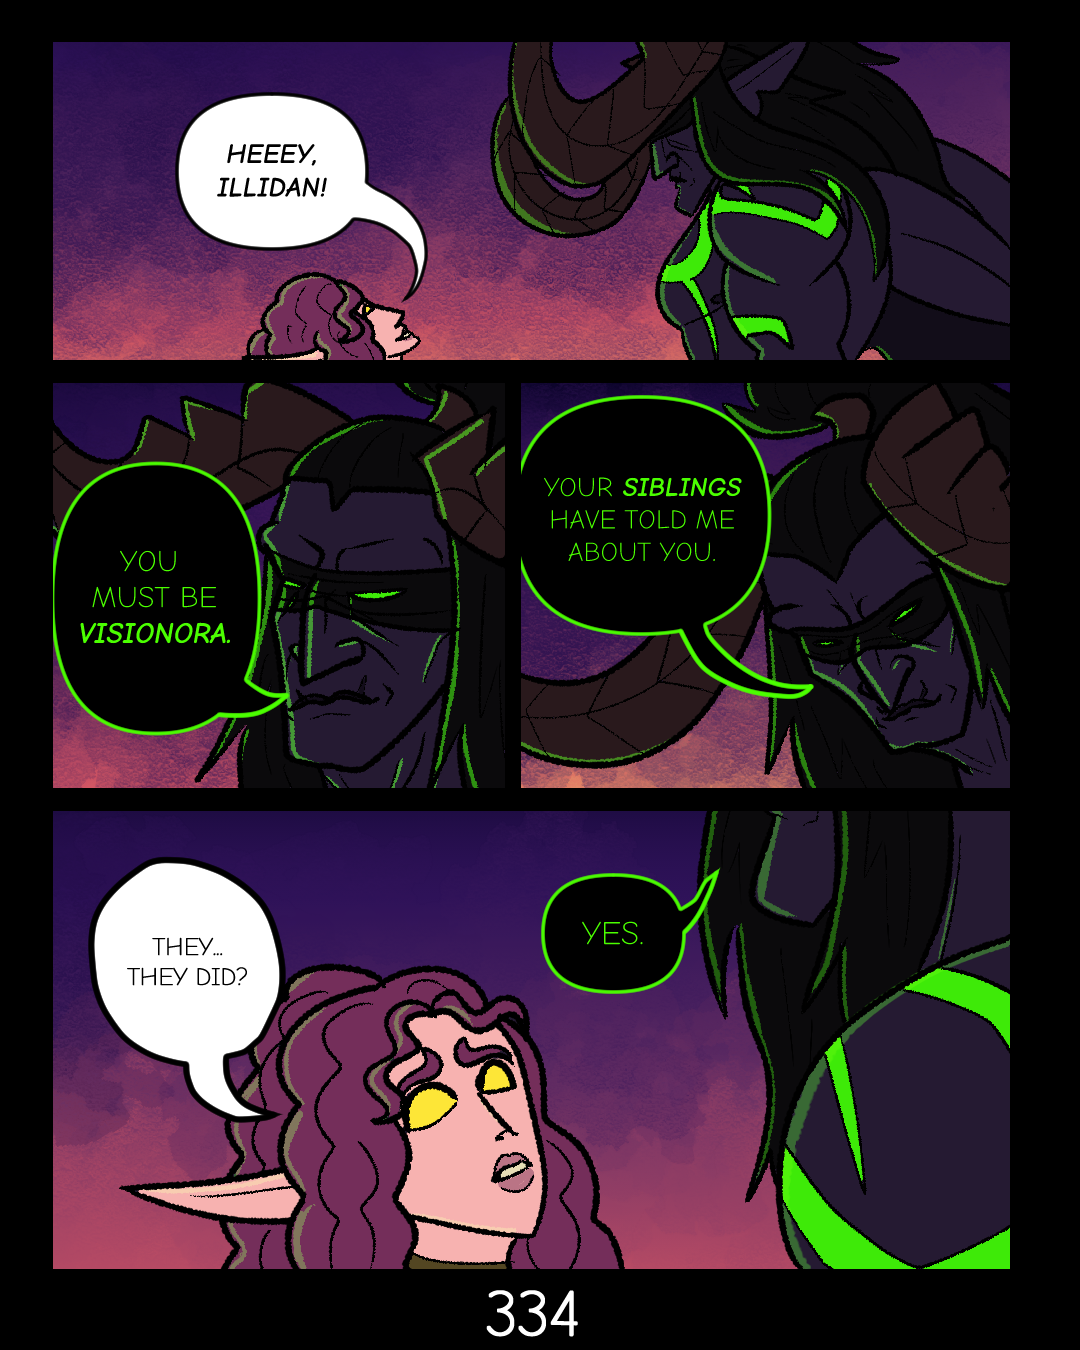
Fel and Blades: Pages 334 – 336
Thanks for reading! Come back next Friday to read more!
Can’t wait? Consider joining my Patreon to read two weeks ahead!
-
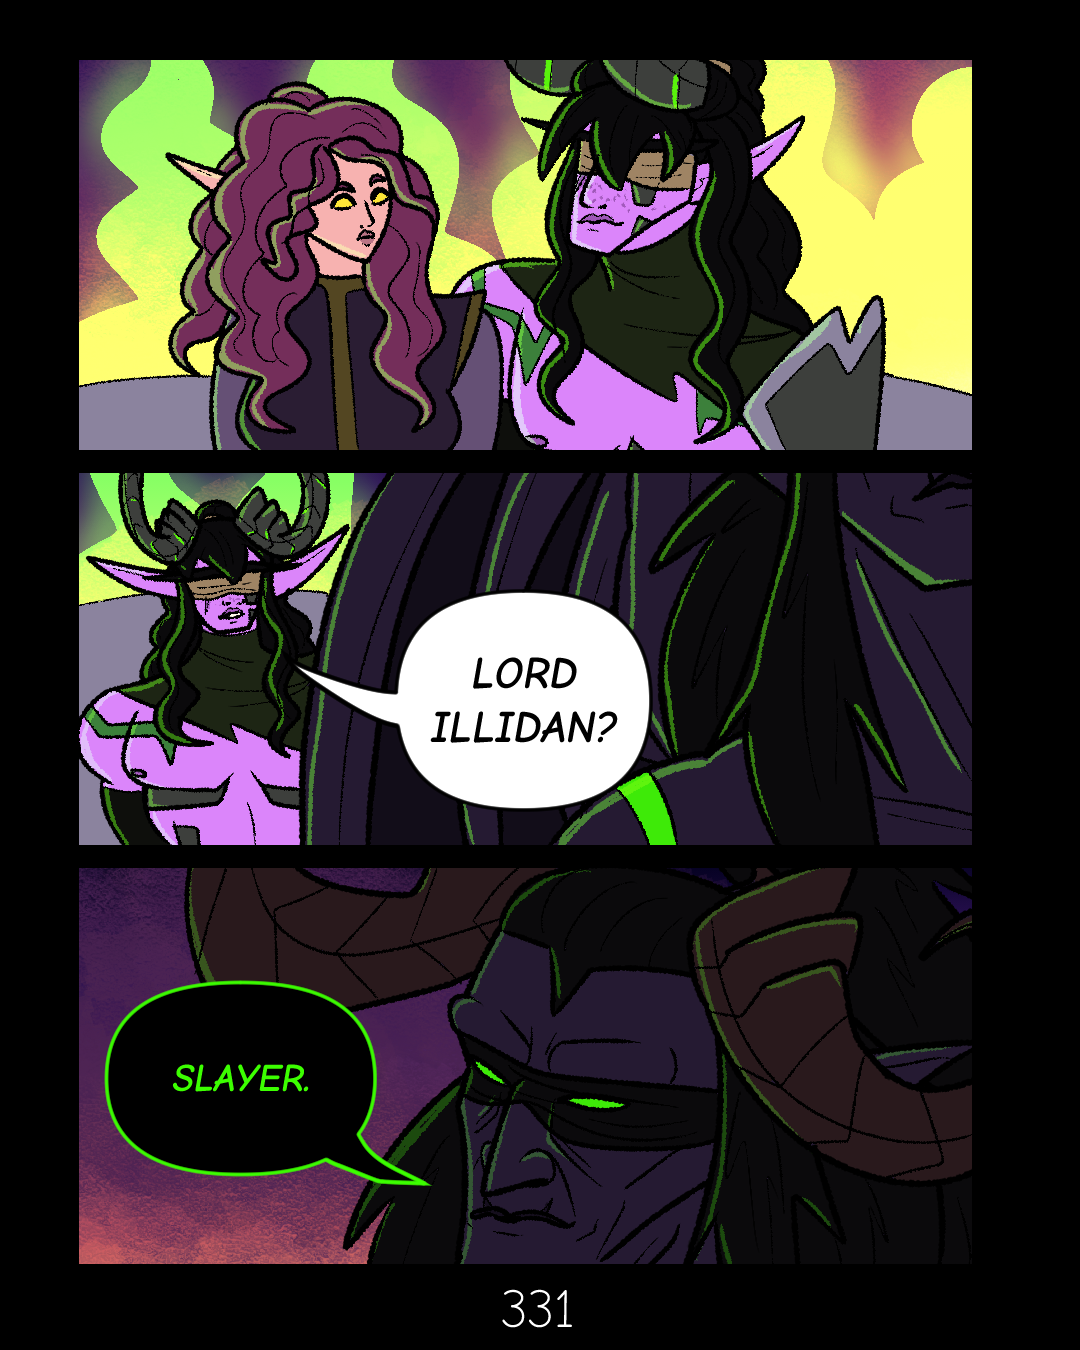
Fel and Blades: Pages 331 – 333
Thanks for reading! Come back next Friday to read more!
Can’t wait? Consider joining my Patreon to read two weeks ahead!
-
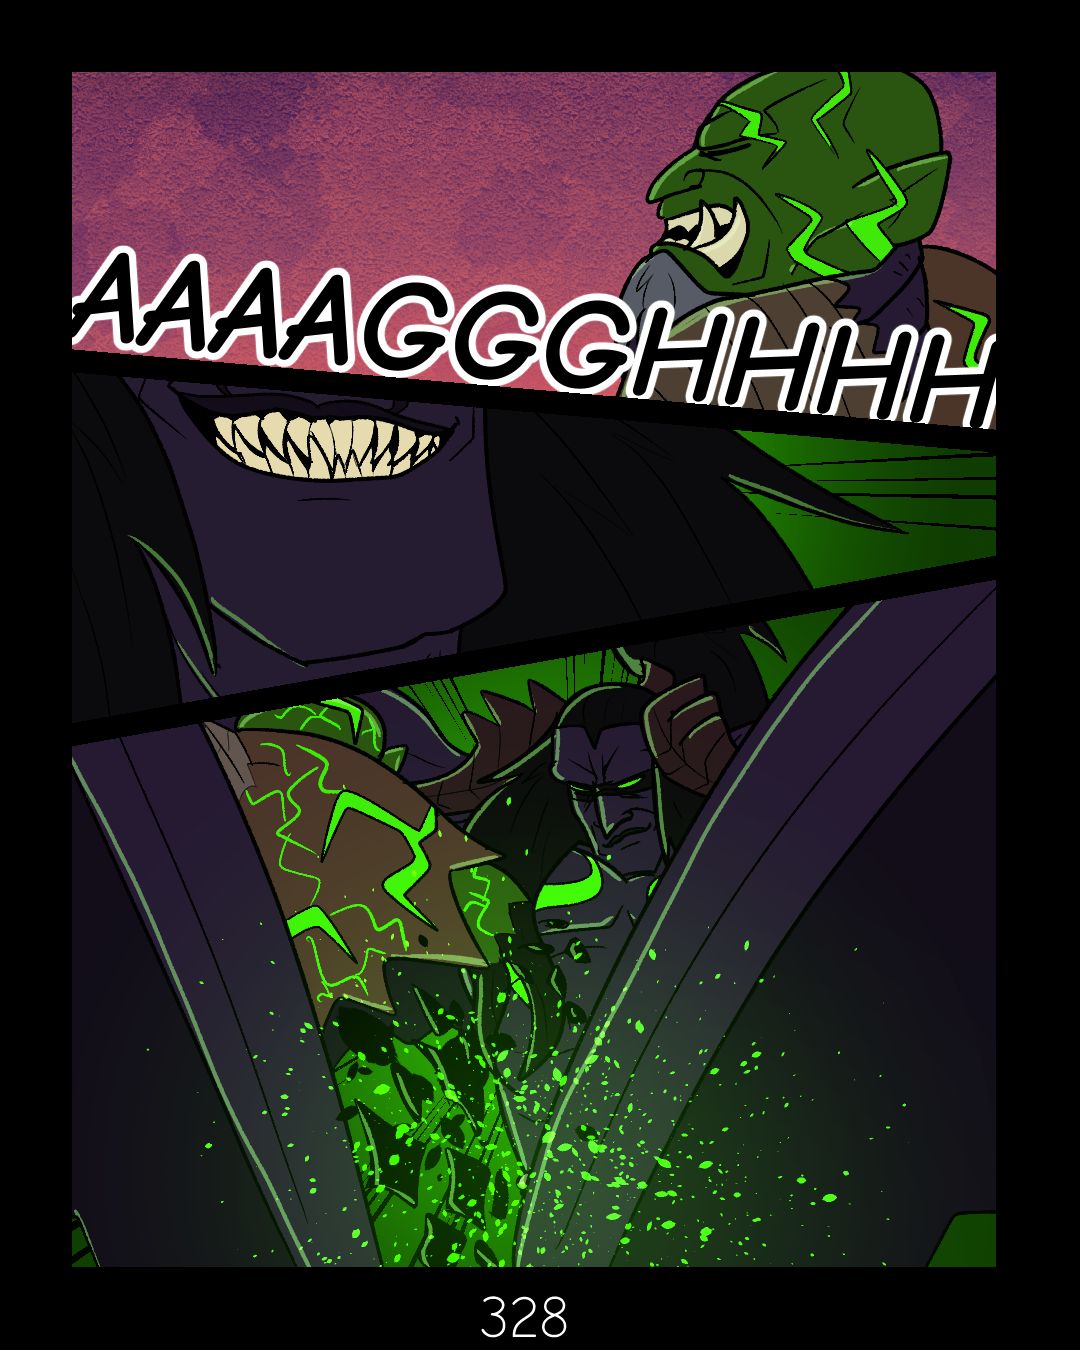
Fel and Blades: Pages 328 – 330
Thanks for reading! Come back next Friday to read more!
Can’t wait? Consider joining my Patreon to read two weeks ahead!
-
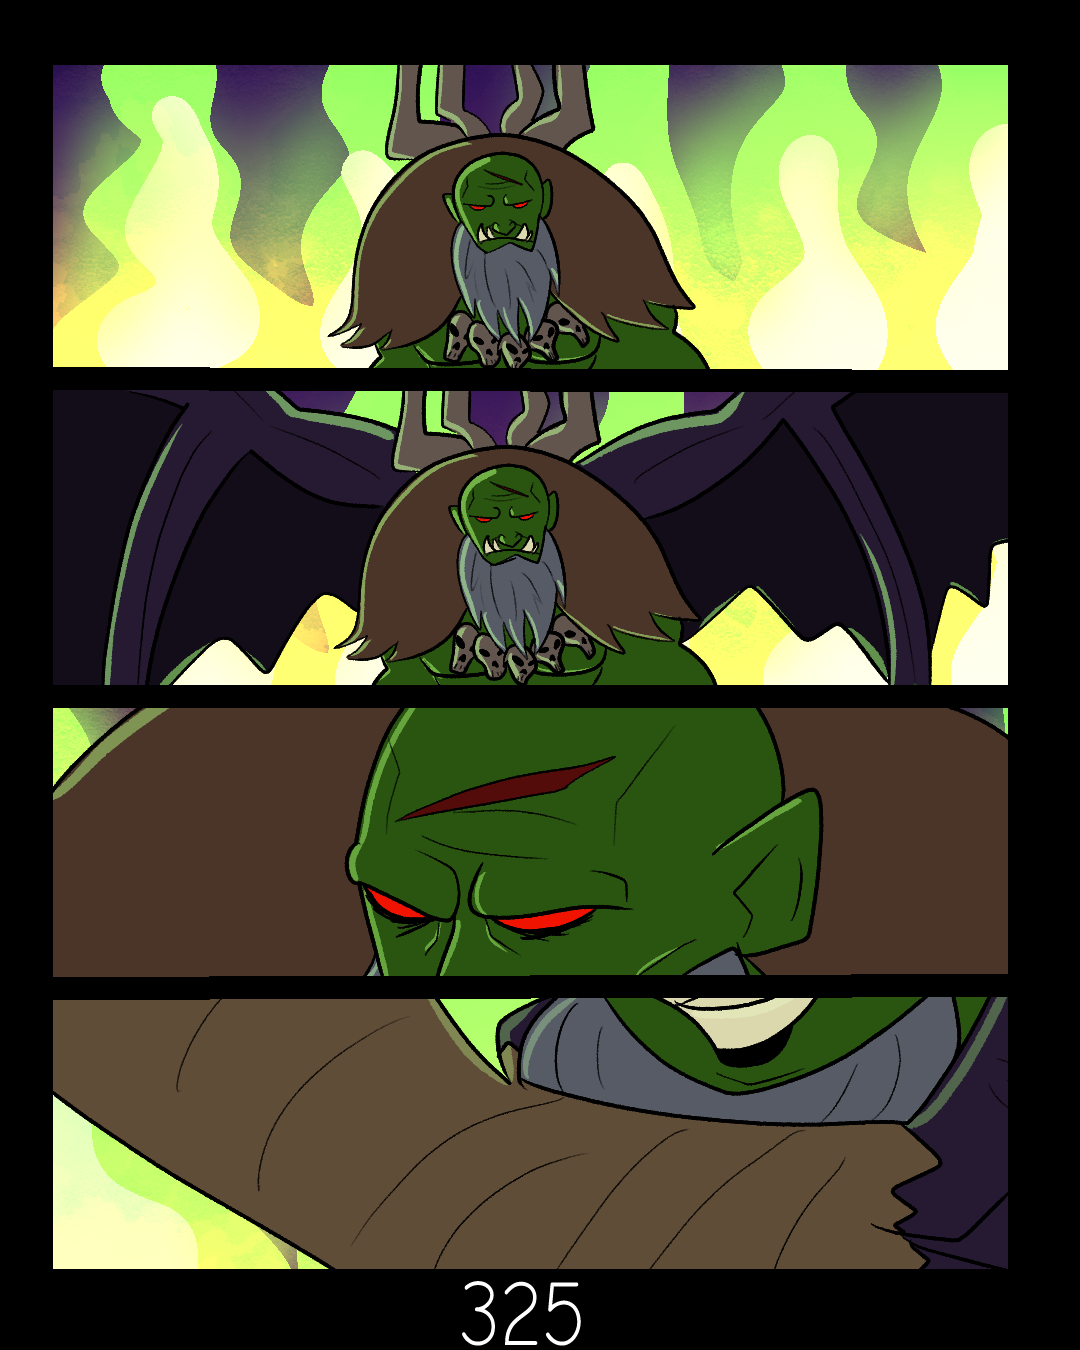
Fel and Blades: Pages 325 – 327
Thanks for reading! Come back next Friday to read more!
Can’t wait? Consider joining my Patreon to read two weeks ahead!
-
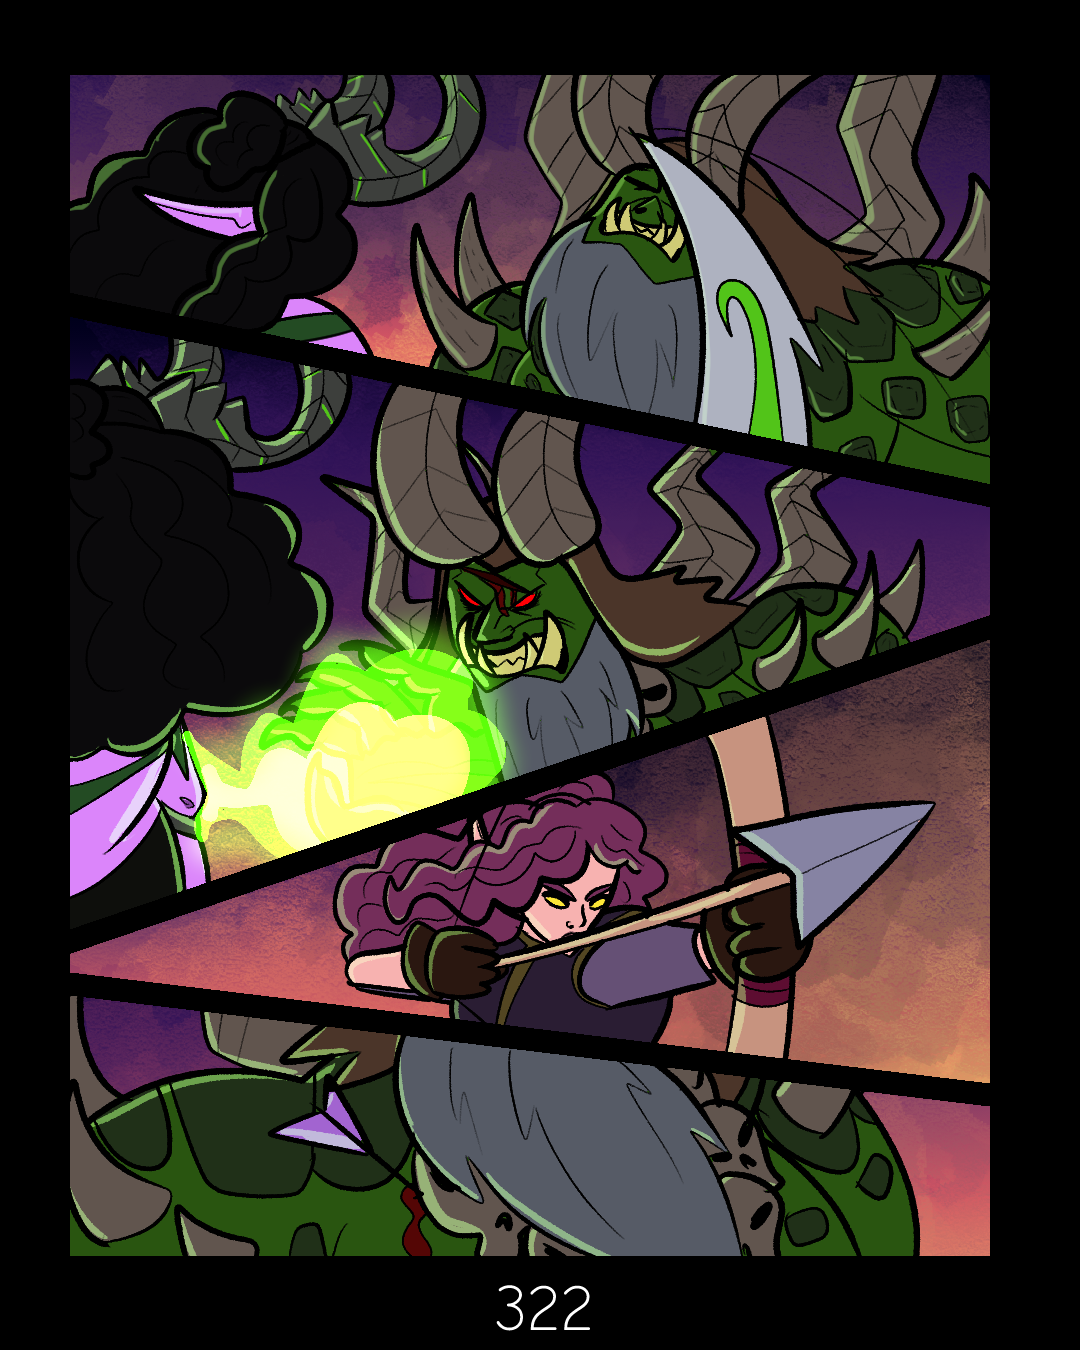
Fel and Blades: Pages 322 – 324
Thanks for reading! Come back next Friday to read more!
Can’t wait? Consider joining my Patreon to read two weeks ahead!
-
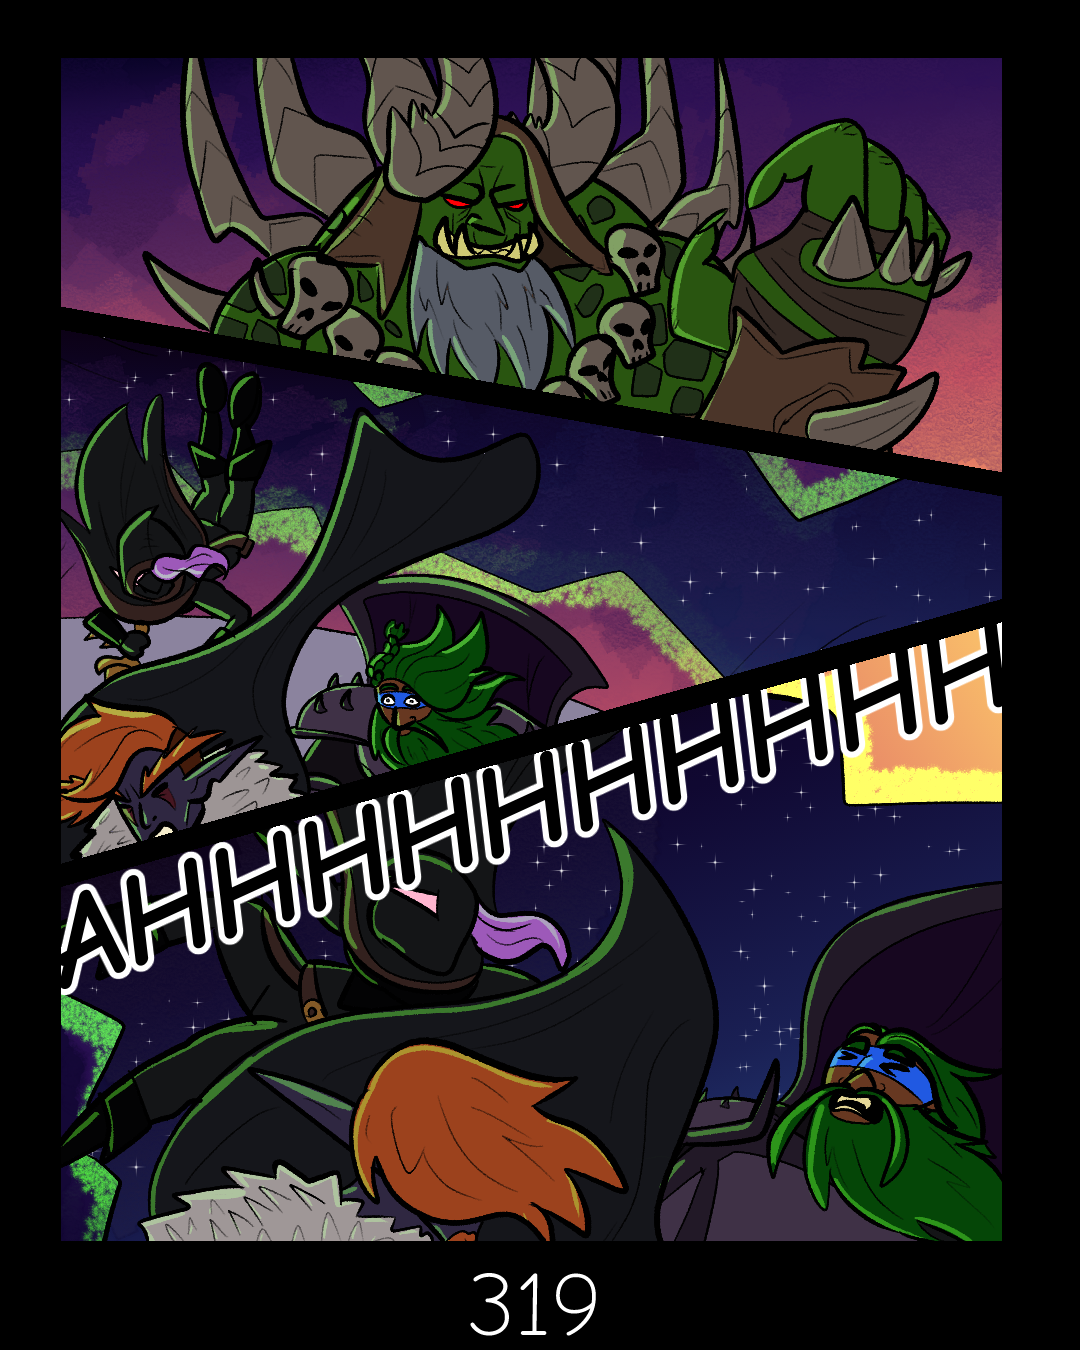
Fel and Blades: Pages 319 – 321
Thanks for reading! Come back next Friday to read more!
Can’t wait? Consider joining my Patreon to read two weeks ahead!
-
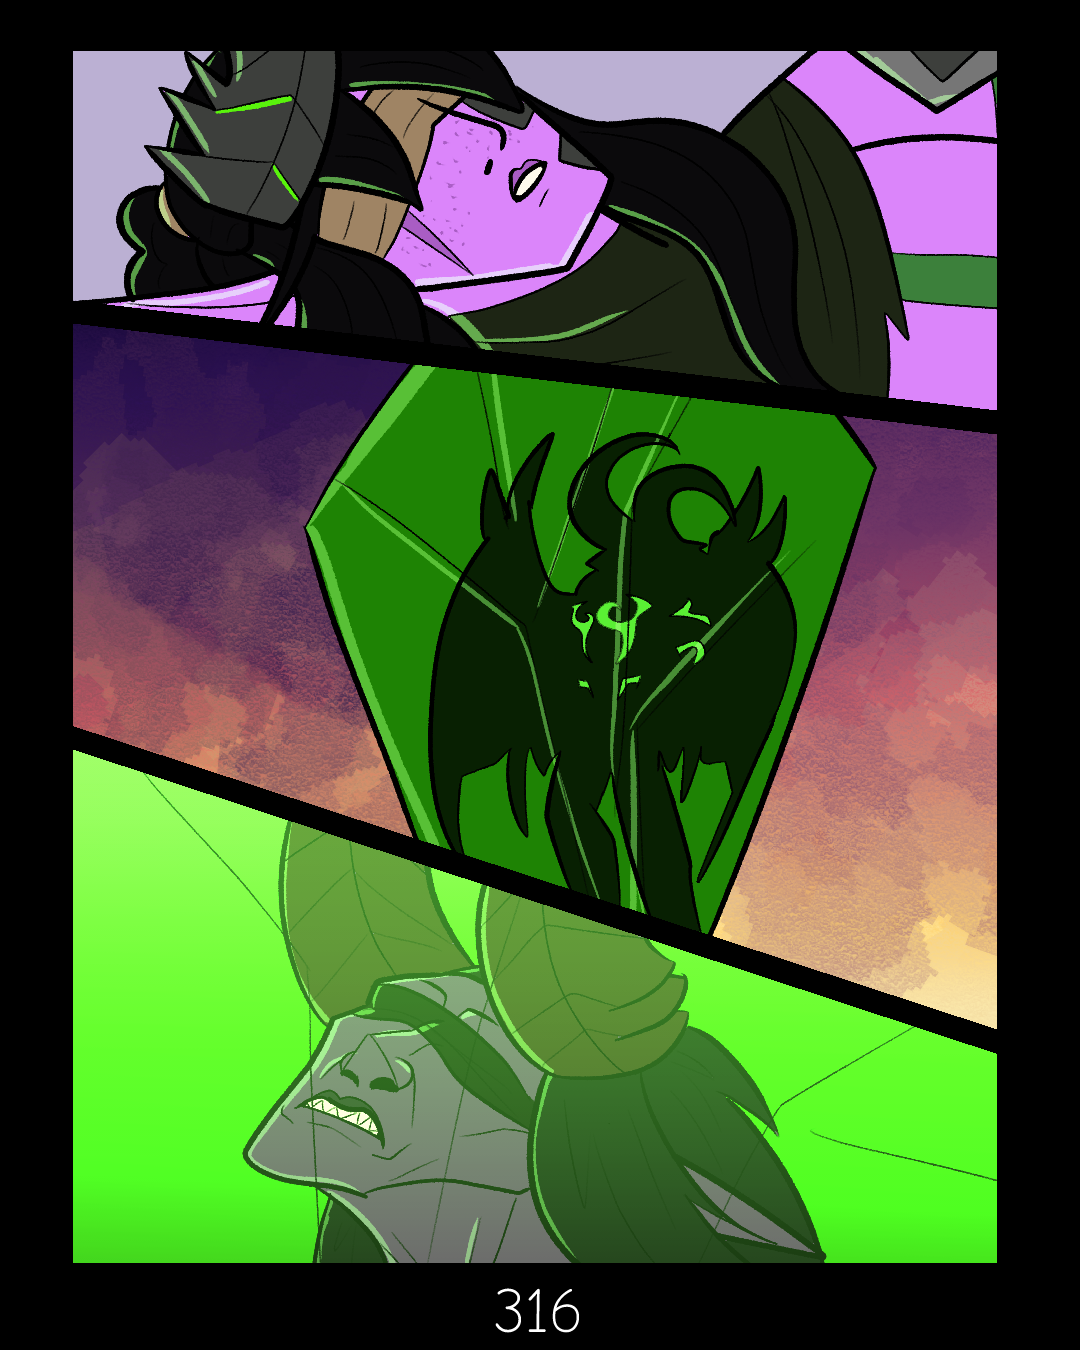
Fel and Blades: Pages 316 – 318
Thanks for reading! Come back next Friday to read more!
Can’t wait? Consider joining my Patreon to read two weeks ahead!